Hoist AssemblyNote: all pictures link to larger originals which will open in a new window. | |
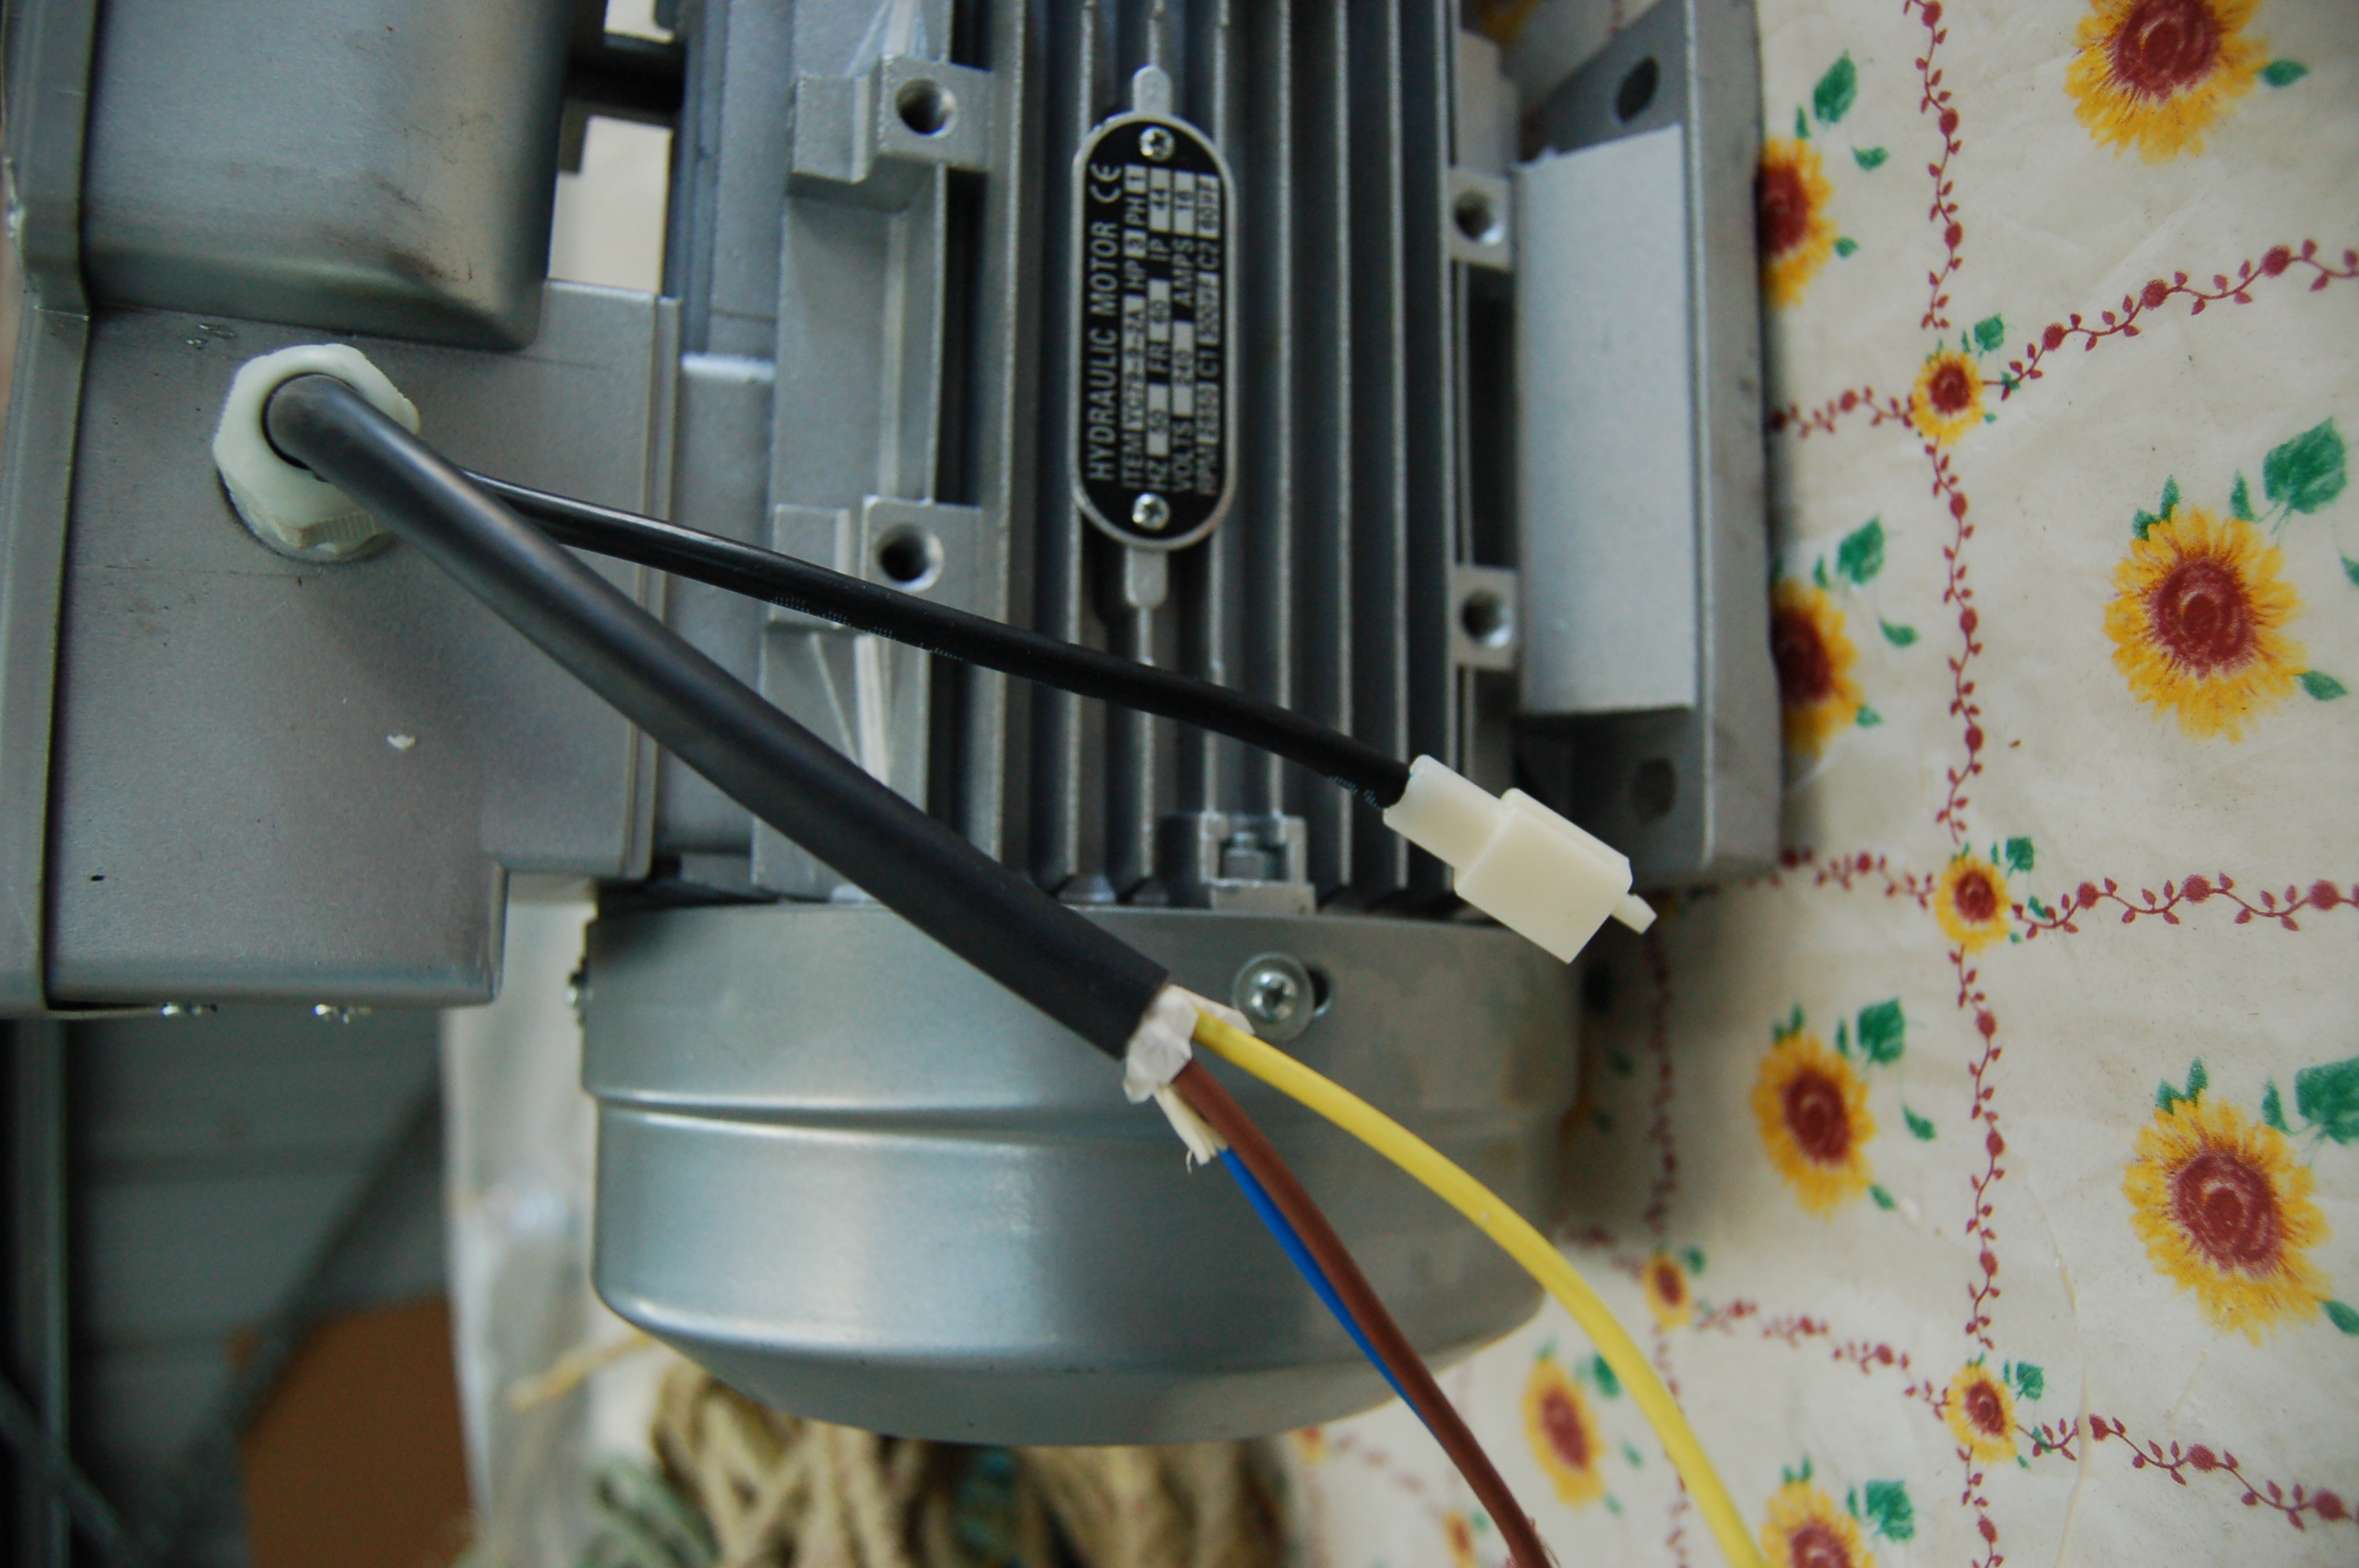
Although the HAPP90 sales literature says that a control box/limit switch is optional, as delivered the motor does not work without it. Hood say the reason is because they use the same motor for all of their hoists, and advise to just crimp, fuse or twist the wires together inside the cover. An automotive spade connector in the socket will also do the trick but this wire carries 240 volts and is difficult to insulate properly without it looking like an amateurish mess. |
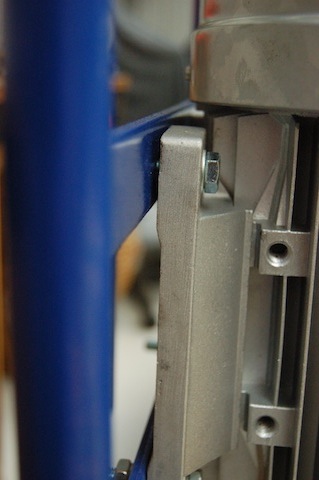
Technically you should pay an electrician to do this, adding further costs. How hard can it be to provide a proper blanking/bridging plug? The motor quality control is not the best either - mine had a severely warped baseplate casting which can be seen in the photo, and needed a tapered packing washer under it before I was game to tighten the holding bolt, in case it broke. |
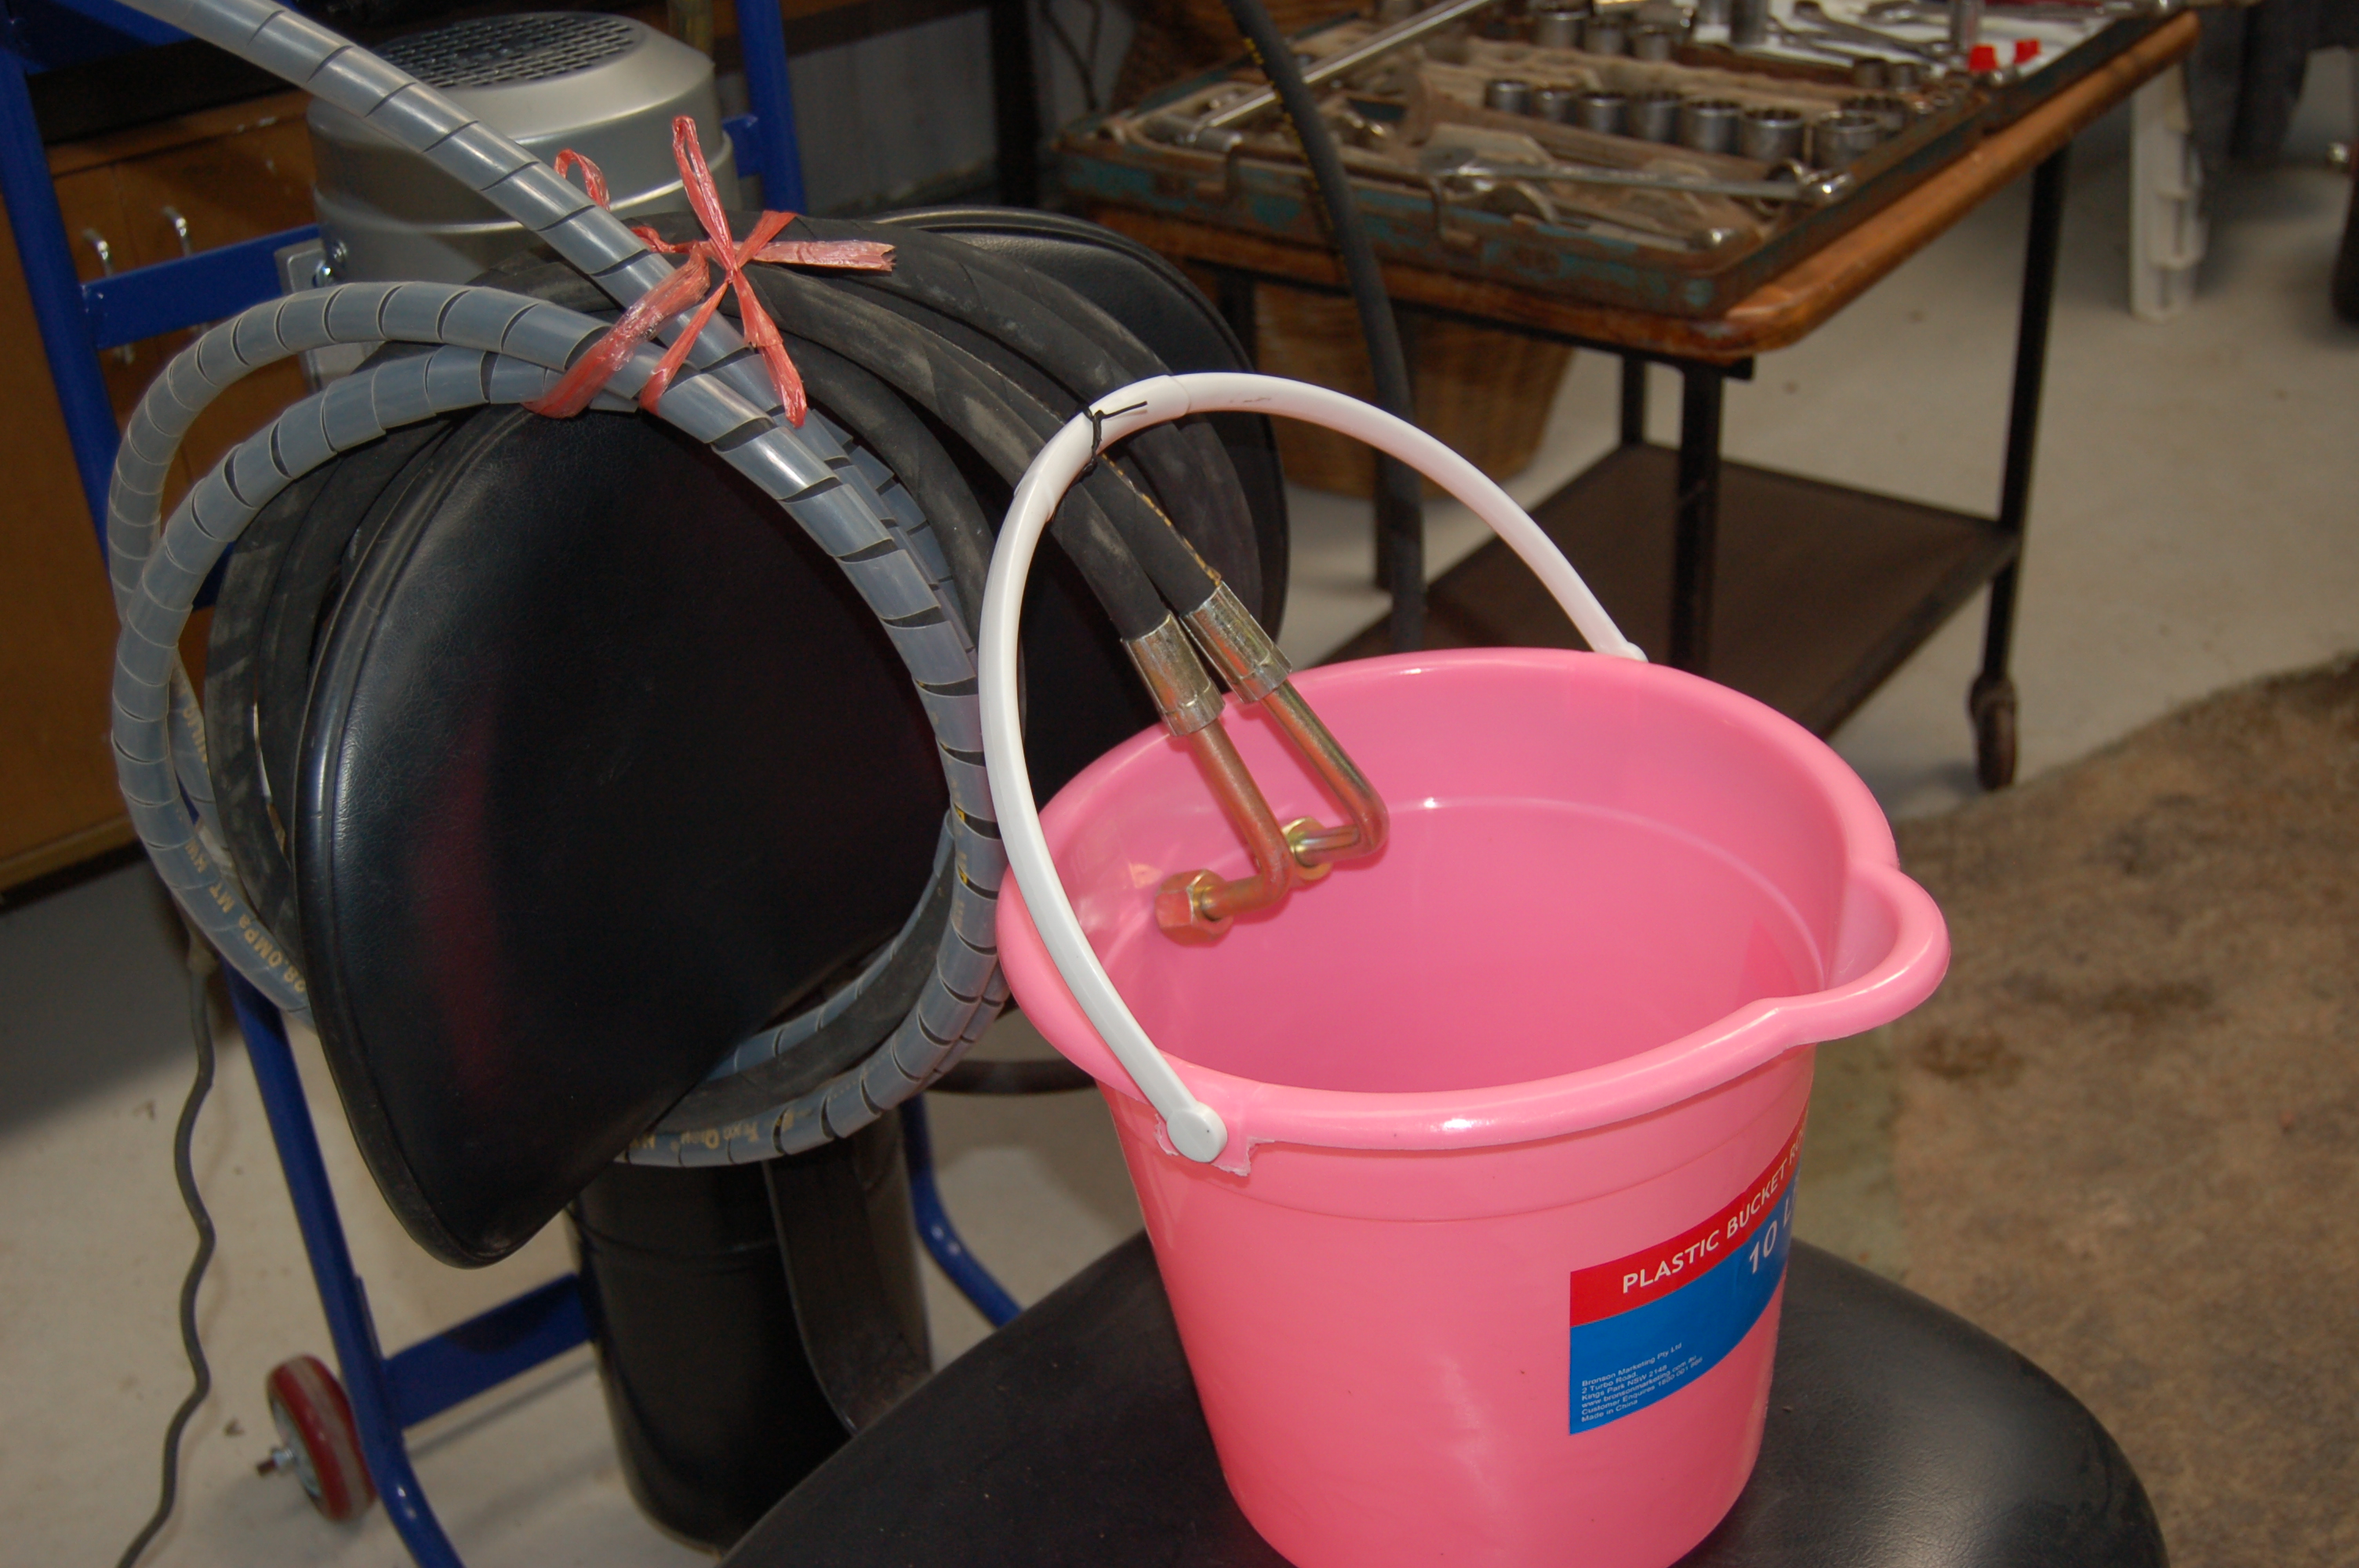
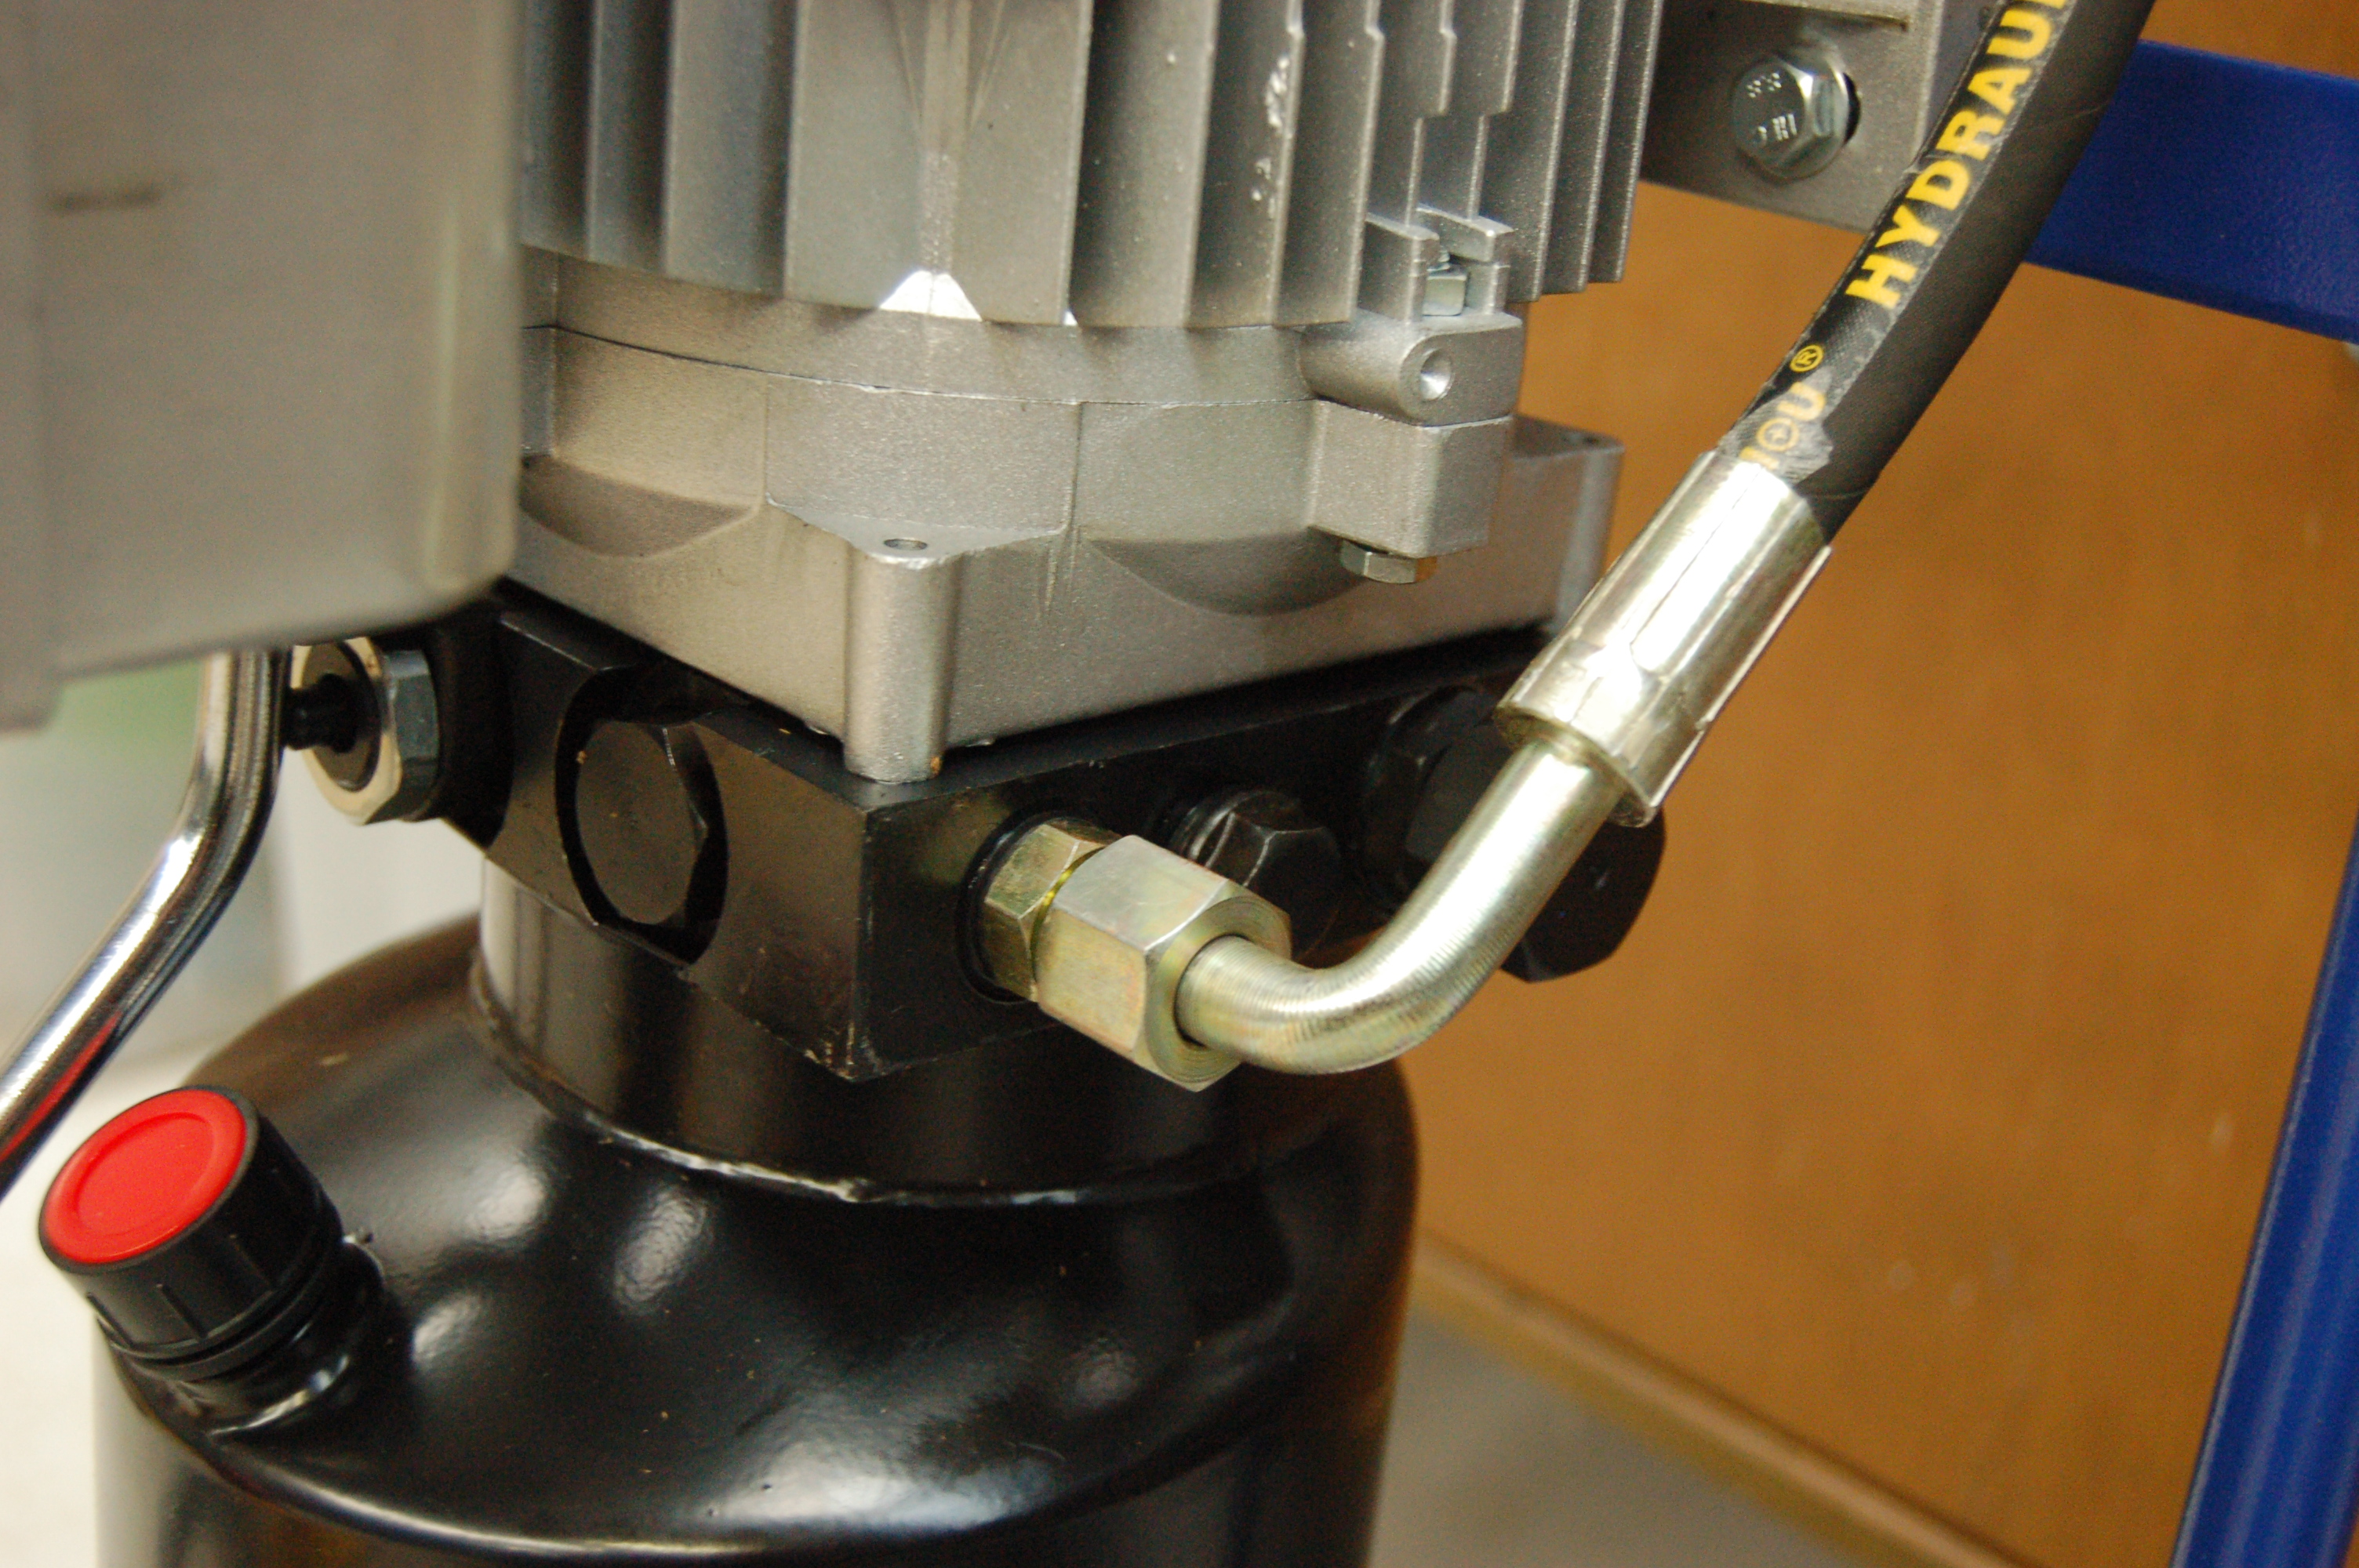
The MaxJax forums are full of discussions about bleeding air from the hydraulic system but the HAPP90 cylinders have no bleed screws and there is no mention of bleeding the hydraulics in the manual. I blasted most of the air out of the hoses by coupling them both to the equalising valve and running the hydraulic oil into a clean bucket. |
I was unable to find specifications for the grade or quantity of hydraulic fluid. By Googling similar hoists I decided on ISO 32 grade oil, but according to the current documentation the correct grade is in fact ISO 46. The capacity of the system *including the hoses* is a bit under 10 litres. Ask me how I know. |
The lift arms and pads assemble easily to the carriages, but the toothed arm locks need to be adjusted in their slots to fully engage the gear teeth on the arms while still being free to slide up and down. They pop up when the carriage is fully lowered and release the arms, which can then be folded back away from the car. It is easiest to wait until the hoist is working to fit their springs, washers and split pins which go underneath the carriage. | |
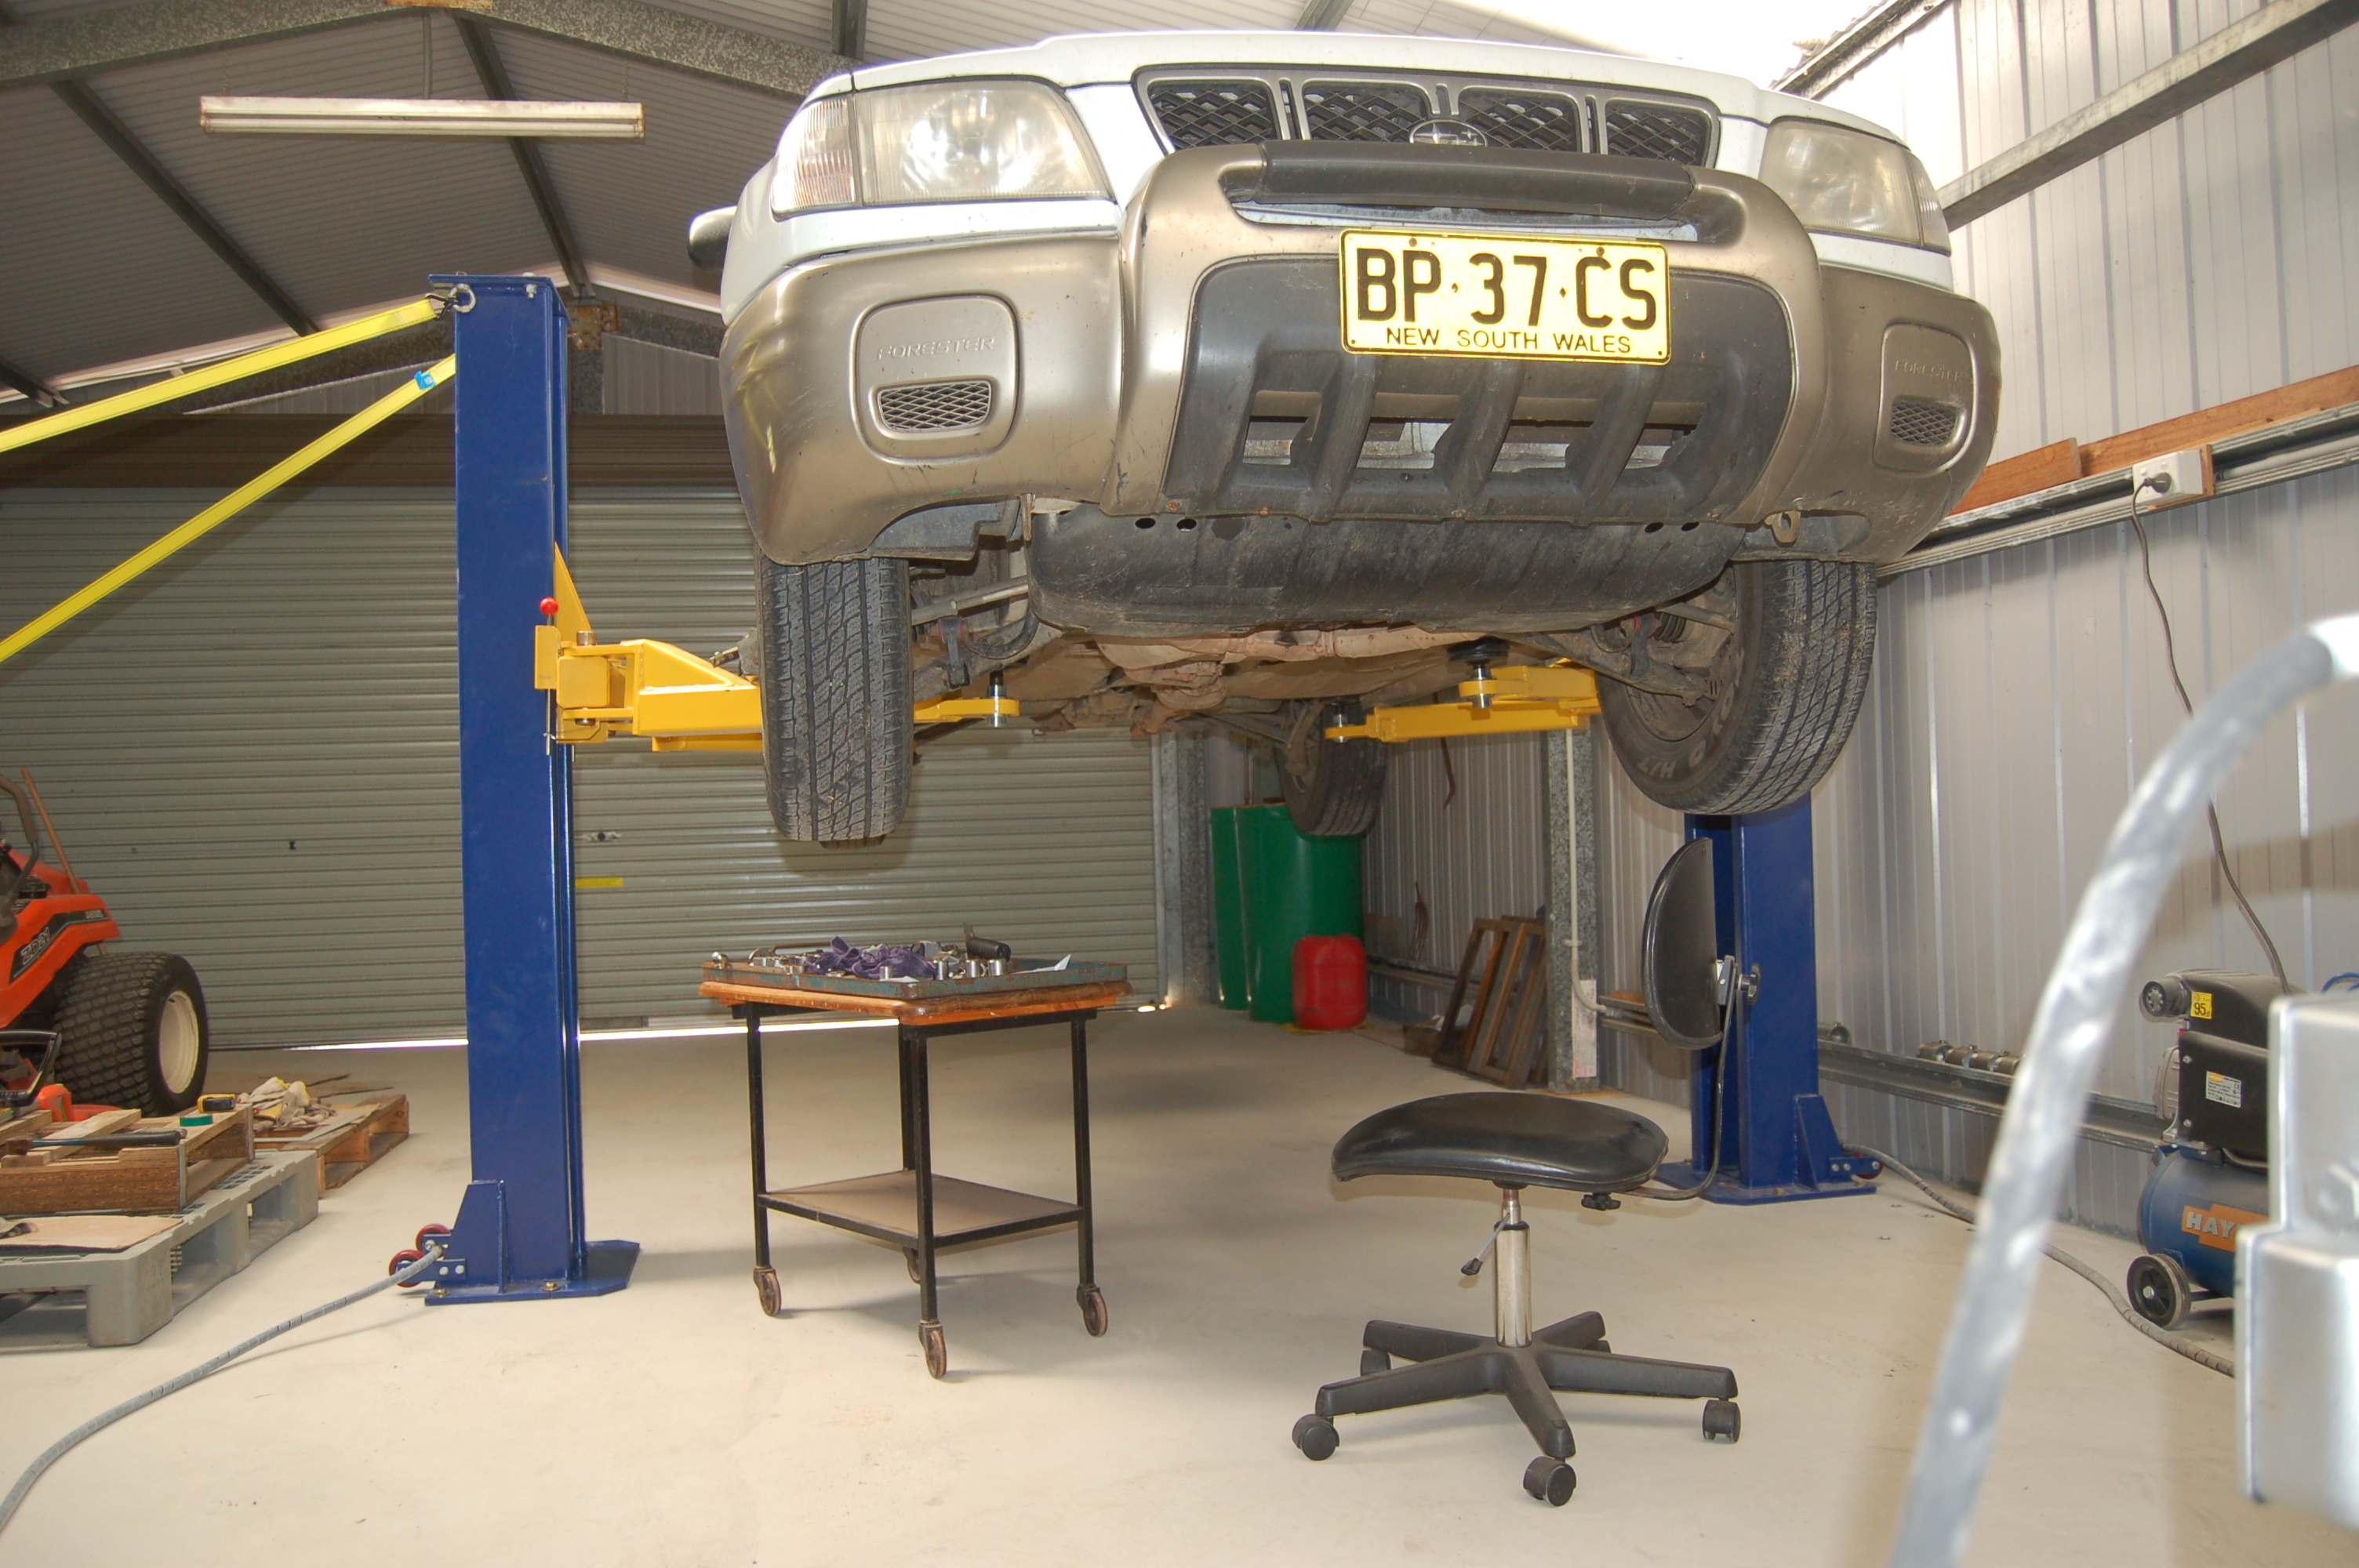
| For the first trial lift I used our oldest, cheapest and heaviest car, and fitted a couple of load straps back to the shed foundations for some extra support. The car rose reasonably level, considering the amount of air that must be in the system. Hood claim a 3 mm tolerance side-to-side, which is absurd. You can hear a clonk as the pawls pass each safety stop, and it is important to make sure both sides are past the same stop position before releasing the pressure to lower the car onto the stops, to prevent tilting. Once locked the car seems safe and solid. The hydraulic hoses are nice and long, and there is plenty of room underneath for a (vinyl!) office chair, at least in my garage. Oil changes and exhaust work are now almost a pleasure. I only wish I had bought myself a hoist 50 years ago. |

I also checked the concrete anchors for bolt stretch and creep with a dial gauge while the hoist was loaded, and also after an overnight stay of the car on the hoist. They were fine - that .001" is just me being sloppy. |
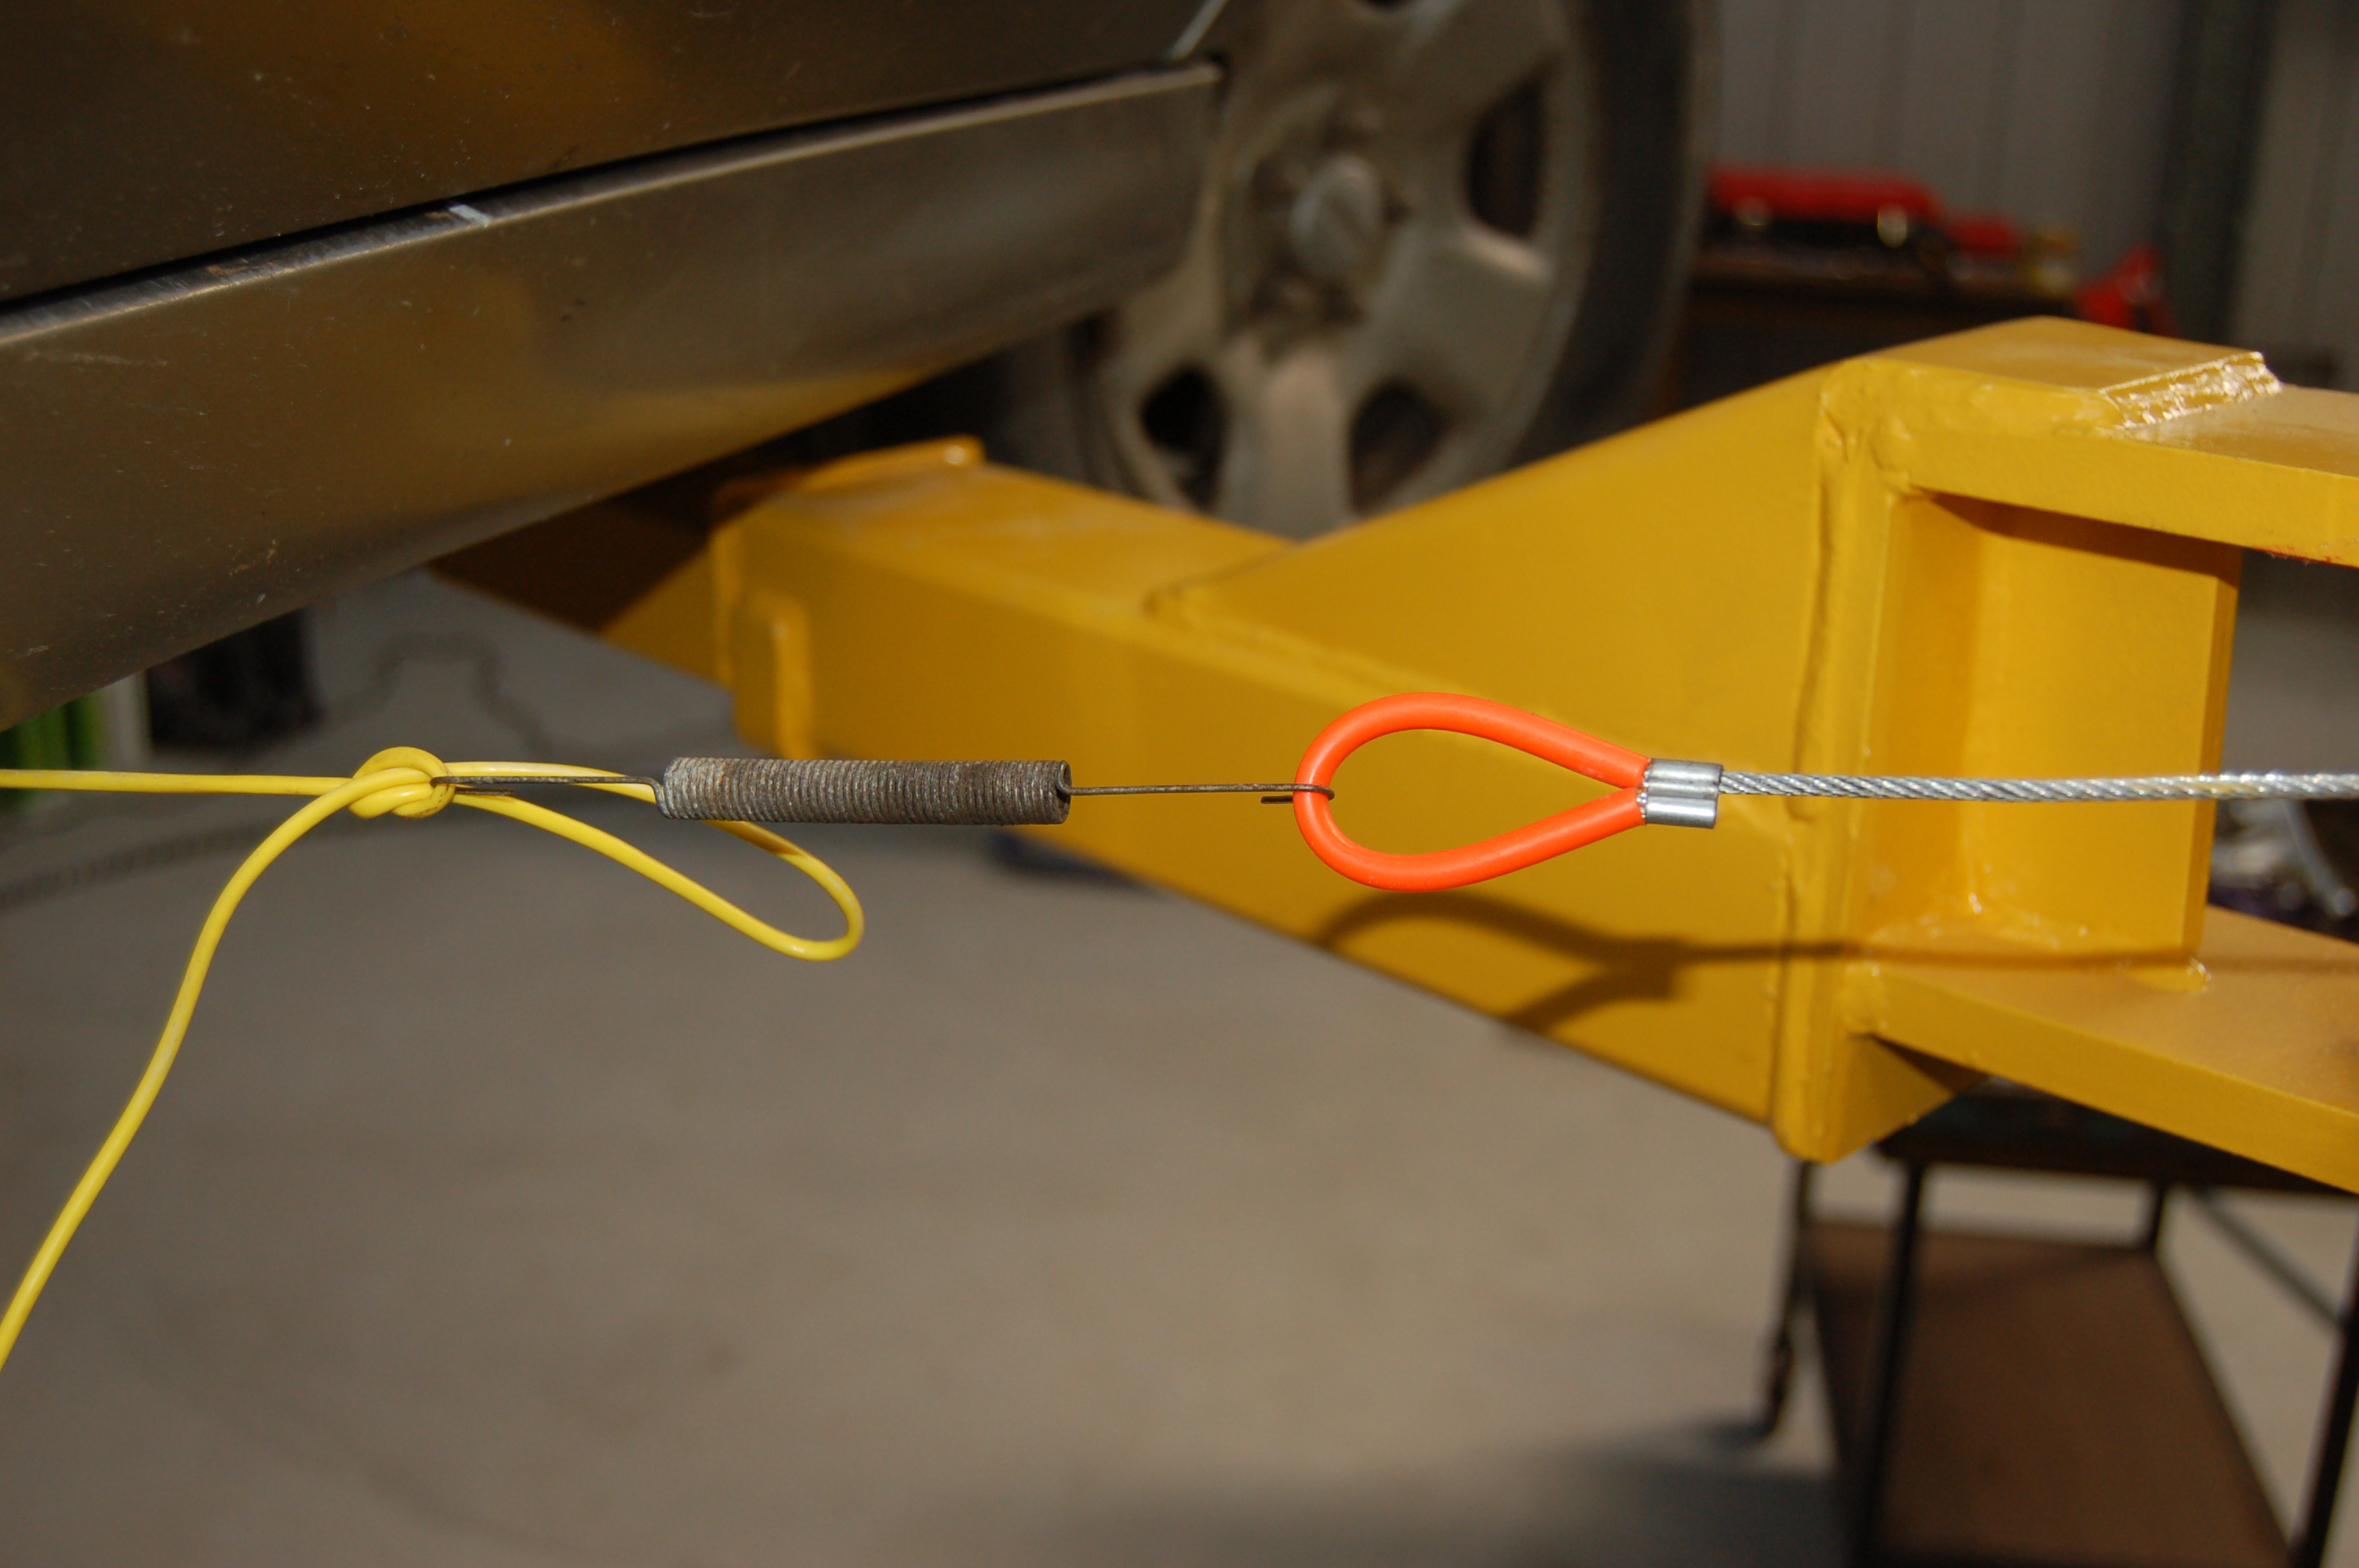
Before lowering the car it needs to be raised a bit to take the pressure off the latches. Both unlock cables need to be pulled simultaneously - a length of cord and a tension spring does the trick. |
|
| |