Column InstallationDisclaimer: This is a description of what I did. It is not a recommendation that you do the same. If your hoist falls on you and crushes you to death, don't come crying to me. | |
|
The HAPP90 specification of 200-250 mm thick concrete and 1.5 m from any edge is unlikely to be achieved in a domestic installation, and if they quoted this in the brochure they would never sell any hoists. Personally I suspect all these sorts of figures are just plucked out of the air, and intended to avoid litigation. I decided to ignore them. The reason I did this is because the MaxJax is designed for similar loads, leverages and arm moments, has a smaller baseplate with 5 concrete anchors yet is rated for 100 mm concrete slabs. The manufacturers even helpfully publish their calculations online which show an ample safety factor if installed as directed. Slabs are expensive and to contain my costs I had specified an average of 100 mm of 25 MPa reinforced concrete in my shed, the half with the hoist at 120 mm and the other half which only has a couple of mowers parked on it, at 80 mm thick. The MaxJax uses wedge anchors which require through-drilling; this does not seem to bother the Americans who drill right through any thickness of slab so that they can punch down a failed wedge anchor and substitute an epoxy fitting. I have had enough of damp floors and rusty tools so I had installed a waterproof membrane, and I was not keen to punch through it and let in moisture to corrode my anchors. The M16 medium duty sleeve anchors supplied with the HAPP90 were 100 mm long with 120 mm bolts. I found them completely unsatisfactory, and I wasted time and money on drill bits trying to use them. They bore no relation to the hoist instruction manual, which specified 18 mm holes. Sleeve anchors usually use the same diameter drill bit, but these measured 24.130 mm which corresponds to no drill size known to man. Furthermore they do not fit through the 22 mm holes in the baseplate, so they need to be installed and set, then the bolts removed in order to fit the columns. These anchors would NOT fit in a 24 mm hole, so I drilled them at 25 mm. Also, the industry usually specifies a minimum spacing of 10 X the fastener diameter between adjacent holes, and because the baseplates have four holes along the back, these large diameter anchors encroach on that margin, weakening their holding power. | |
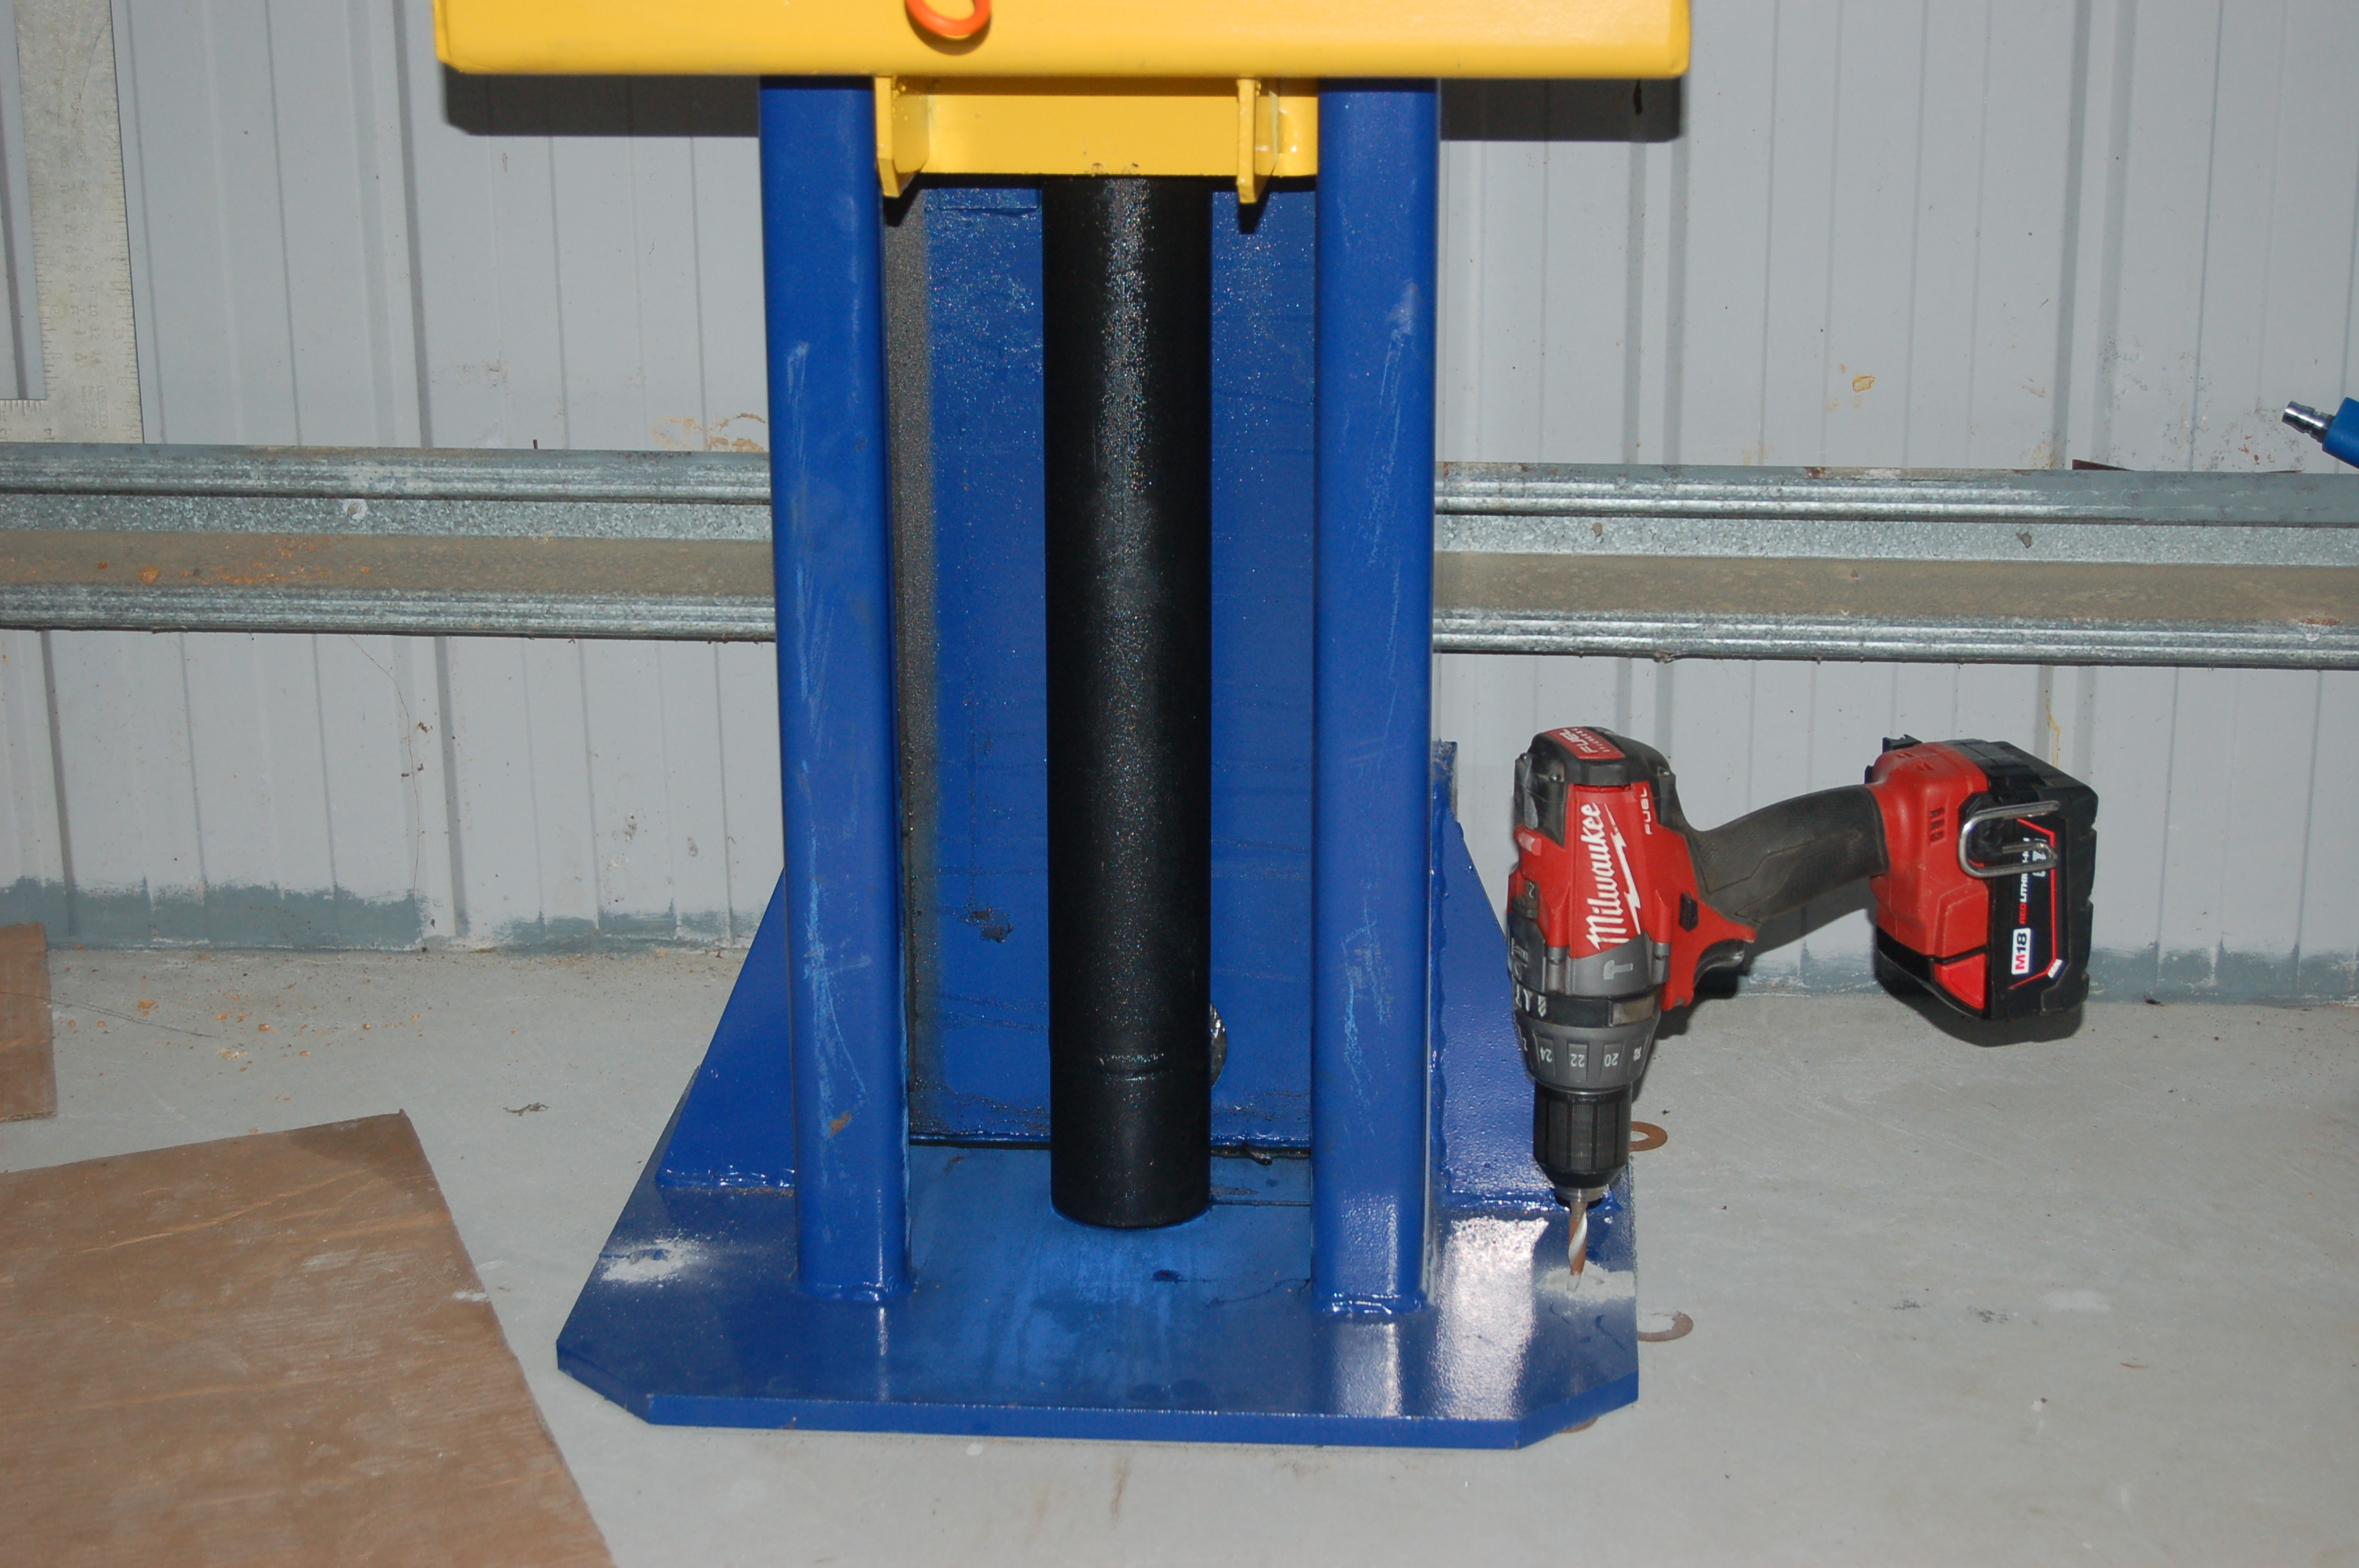
Concrete bits tend to wander easily, a bush or even a washer which fits snugly in the baseplate will help to keep the hole centred initially. I started all my holes with a small drill and bit, before moving the column aside and progressing through 16mm to finish off with a 25mm SDS+ drill.
(It is necessary to raise the carriage to the first latch position to get access to the front holes; this provides a handy opportunity to grease the lower part of the bearing slides.) |
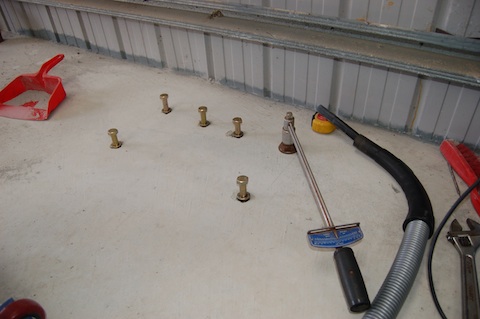
After drilling the first hole I set a test anchor (which easily entered the hole) but I was not happy about the bolt creep at only about 50 Nm torque - the manual specifies 80 Nm, for a smaller bolt size. I should have known better, but I assumed that the drill bit had wandered enough to hollow out the hole so I drilled the rest at 24 mm and finished off with a 25mm diamond core bit which drills a perfectly circular 25mm hole. The low torque result and creep were just the same for every bolt tested. |
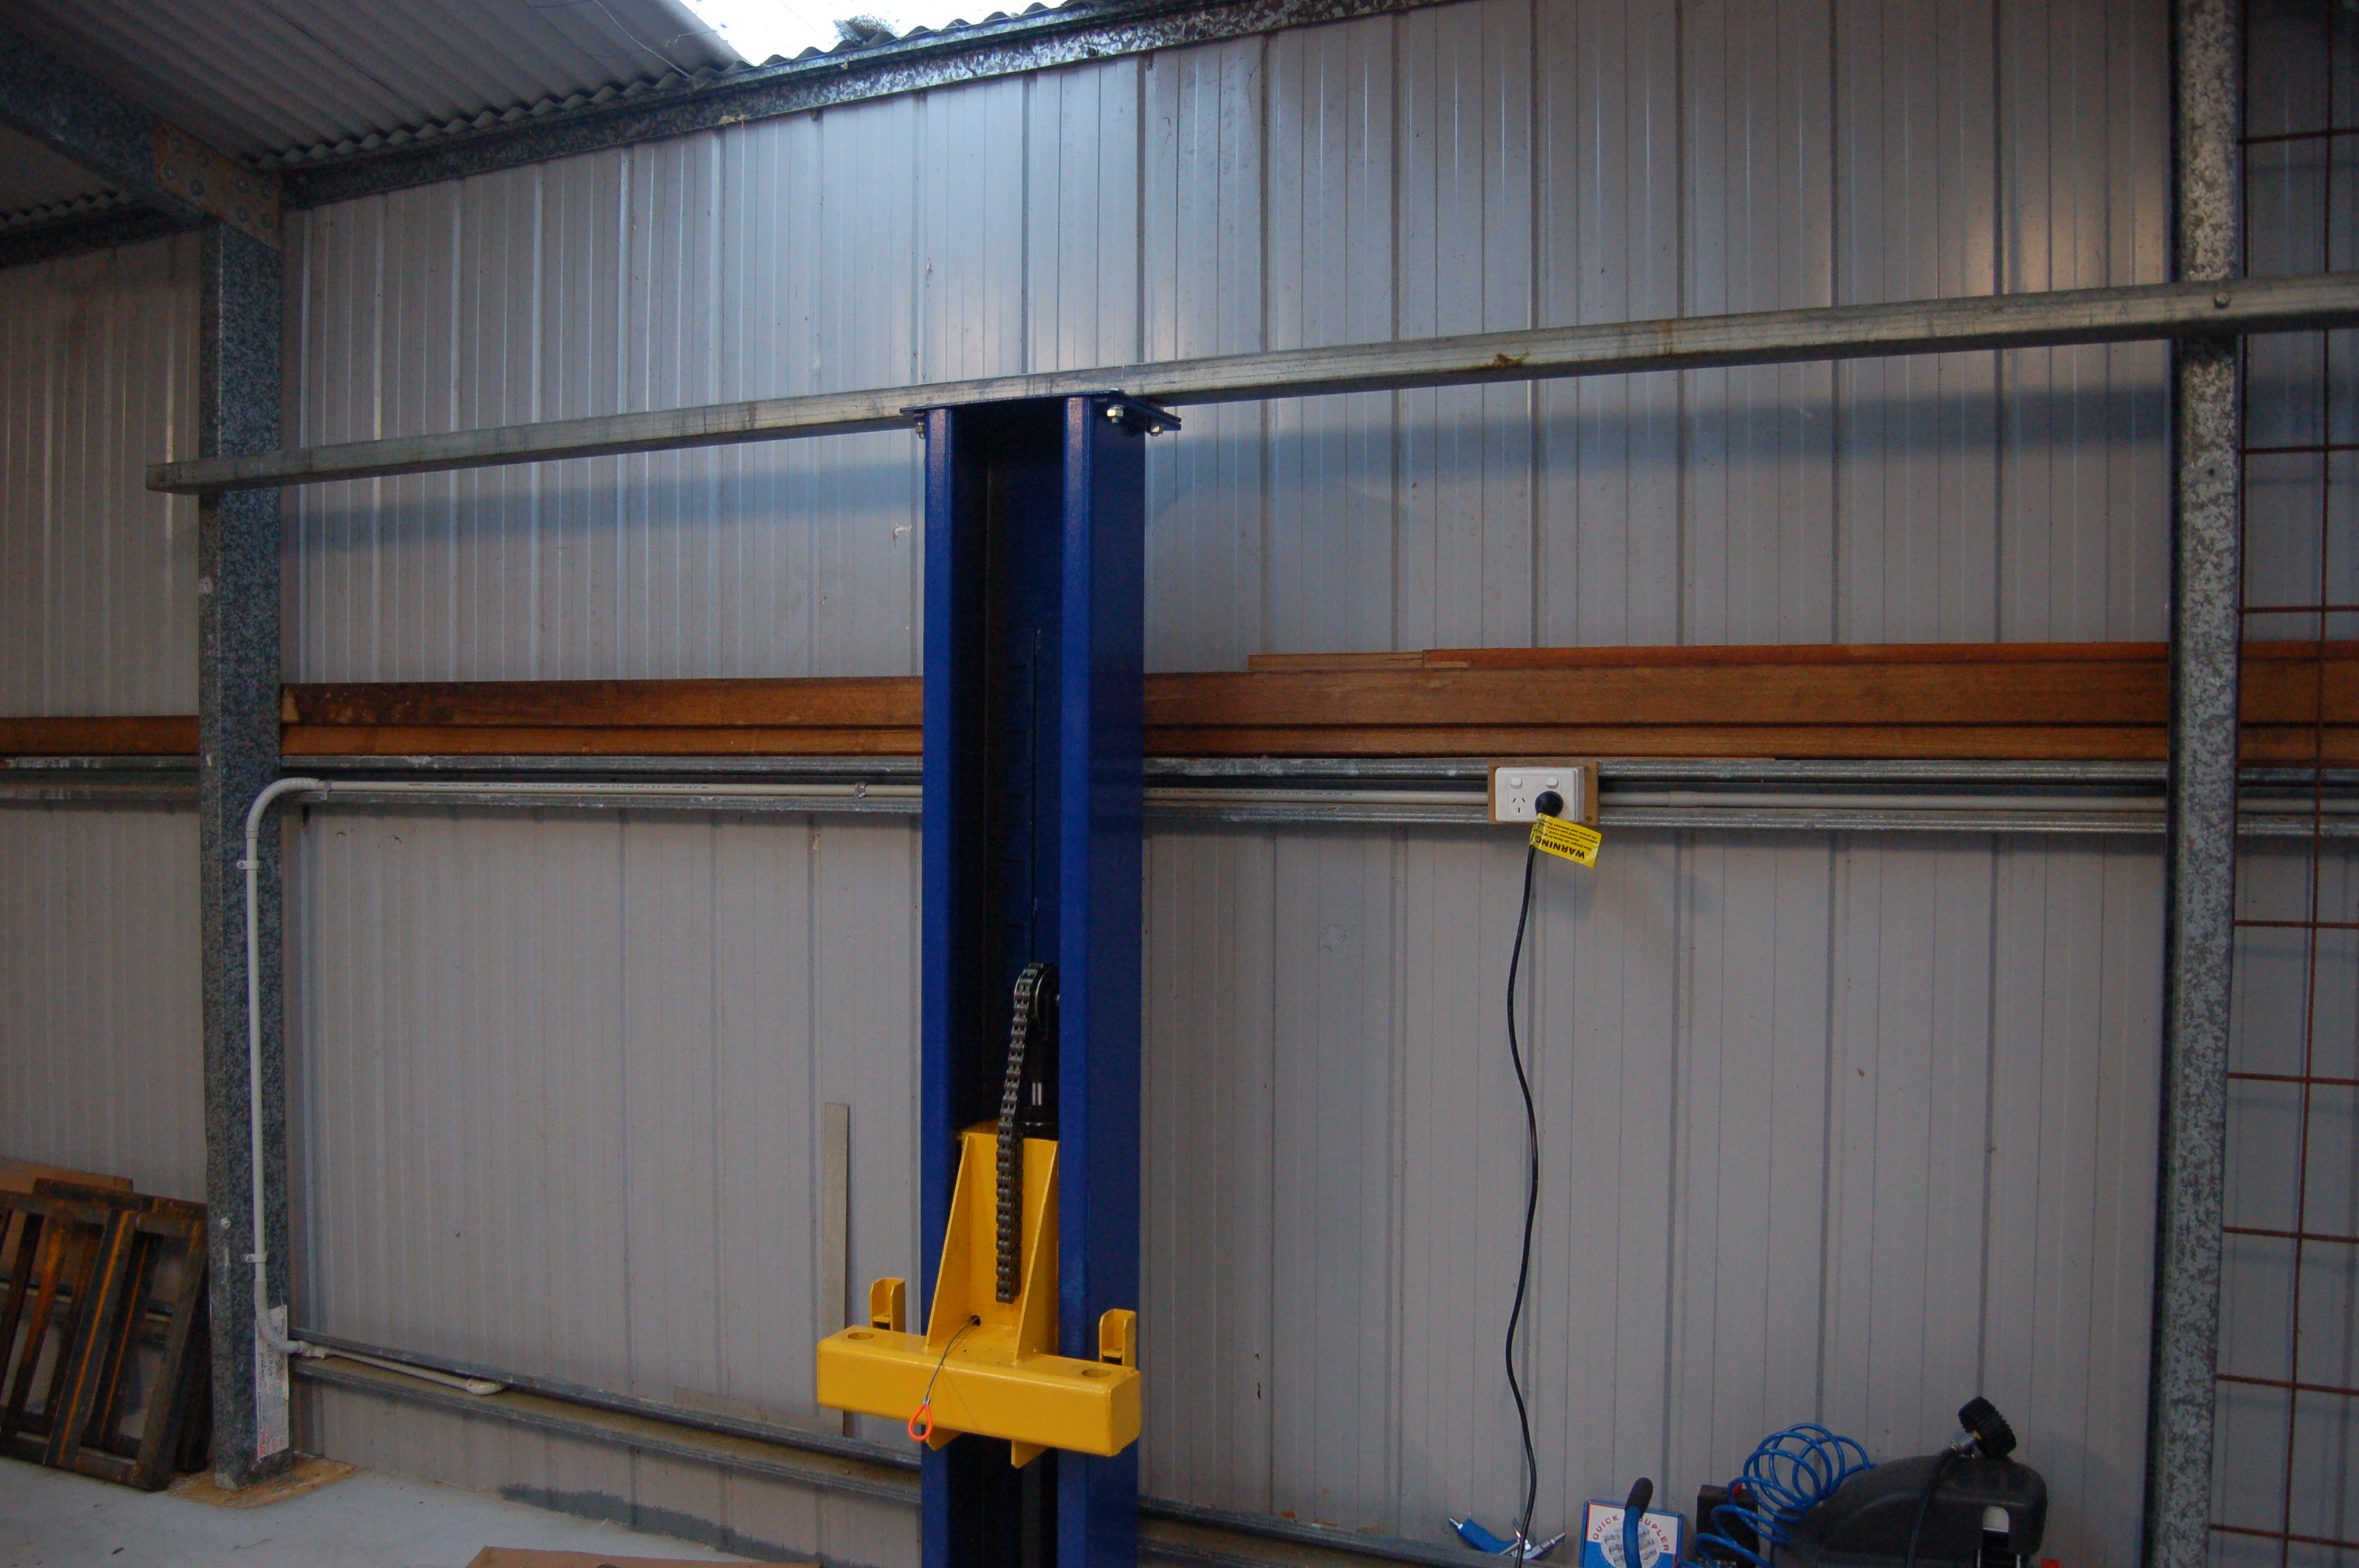
There was no way I was going to get under a hoist with these anchors, so I moved the column and installed new heavy duty ones from a reputable manufacturer. The manual specification of 18mm holes suggested a 12mm bolt size, so I used 12mm torque-controlled High Load Safety rated sleeves. If I owned a heavy four wheel drive or a light truck, I would have probably used even higher rated anchors. The column is too close to the shed walls for any meaningful bracing but for a bit of extra psychological comfort I also bolted the top of the column across the shed uprights with a spare length of thick-walled RHS. |
 |
|
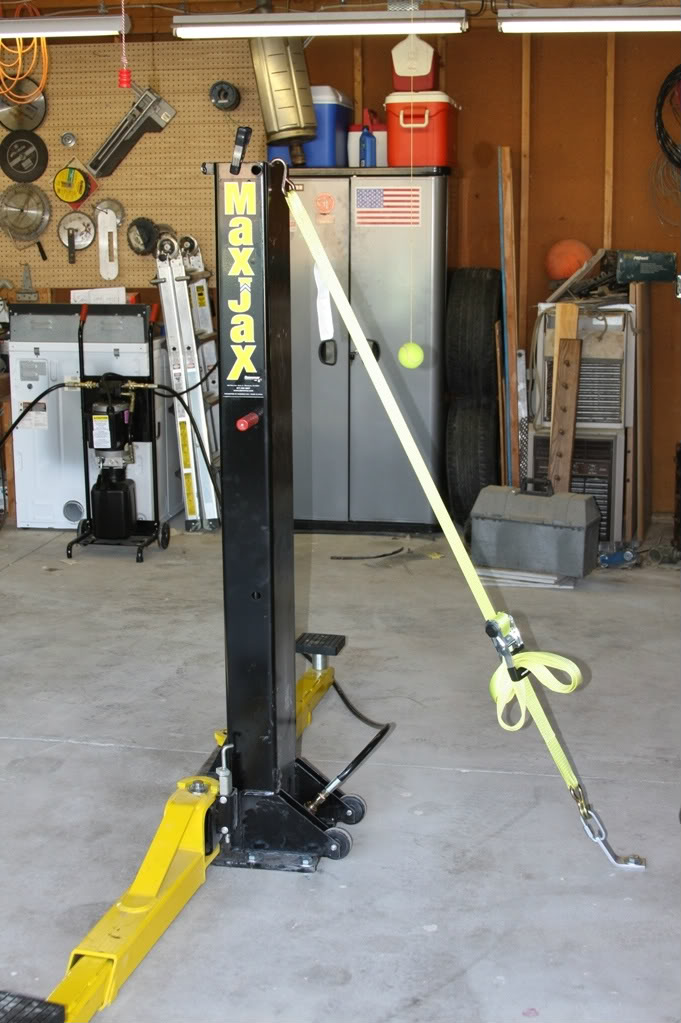
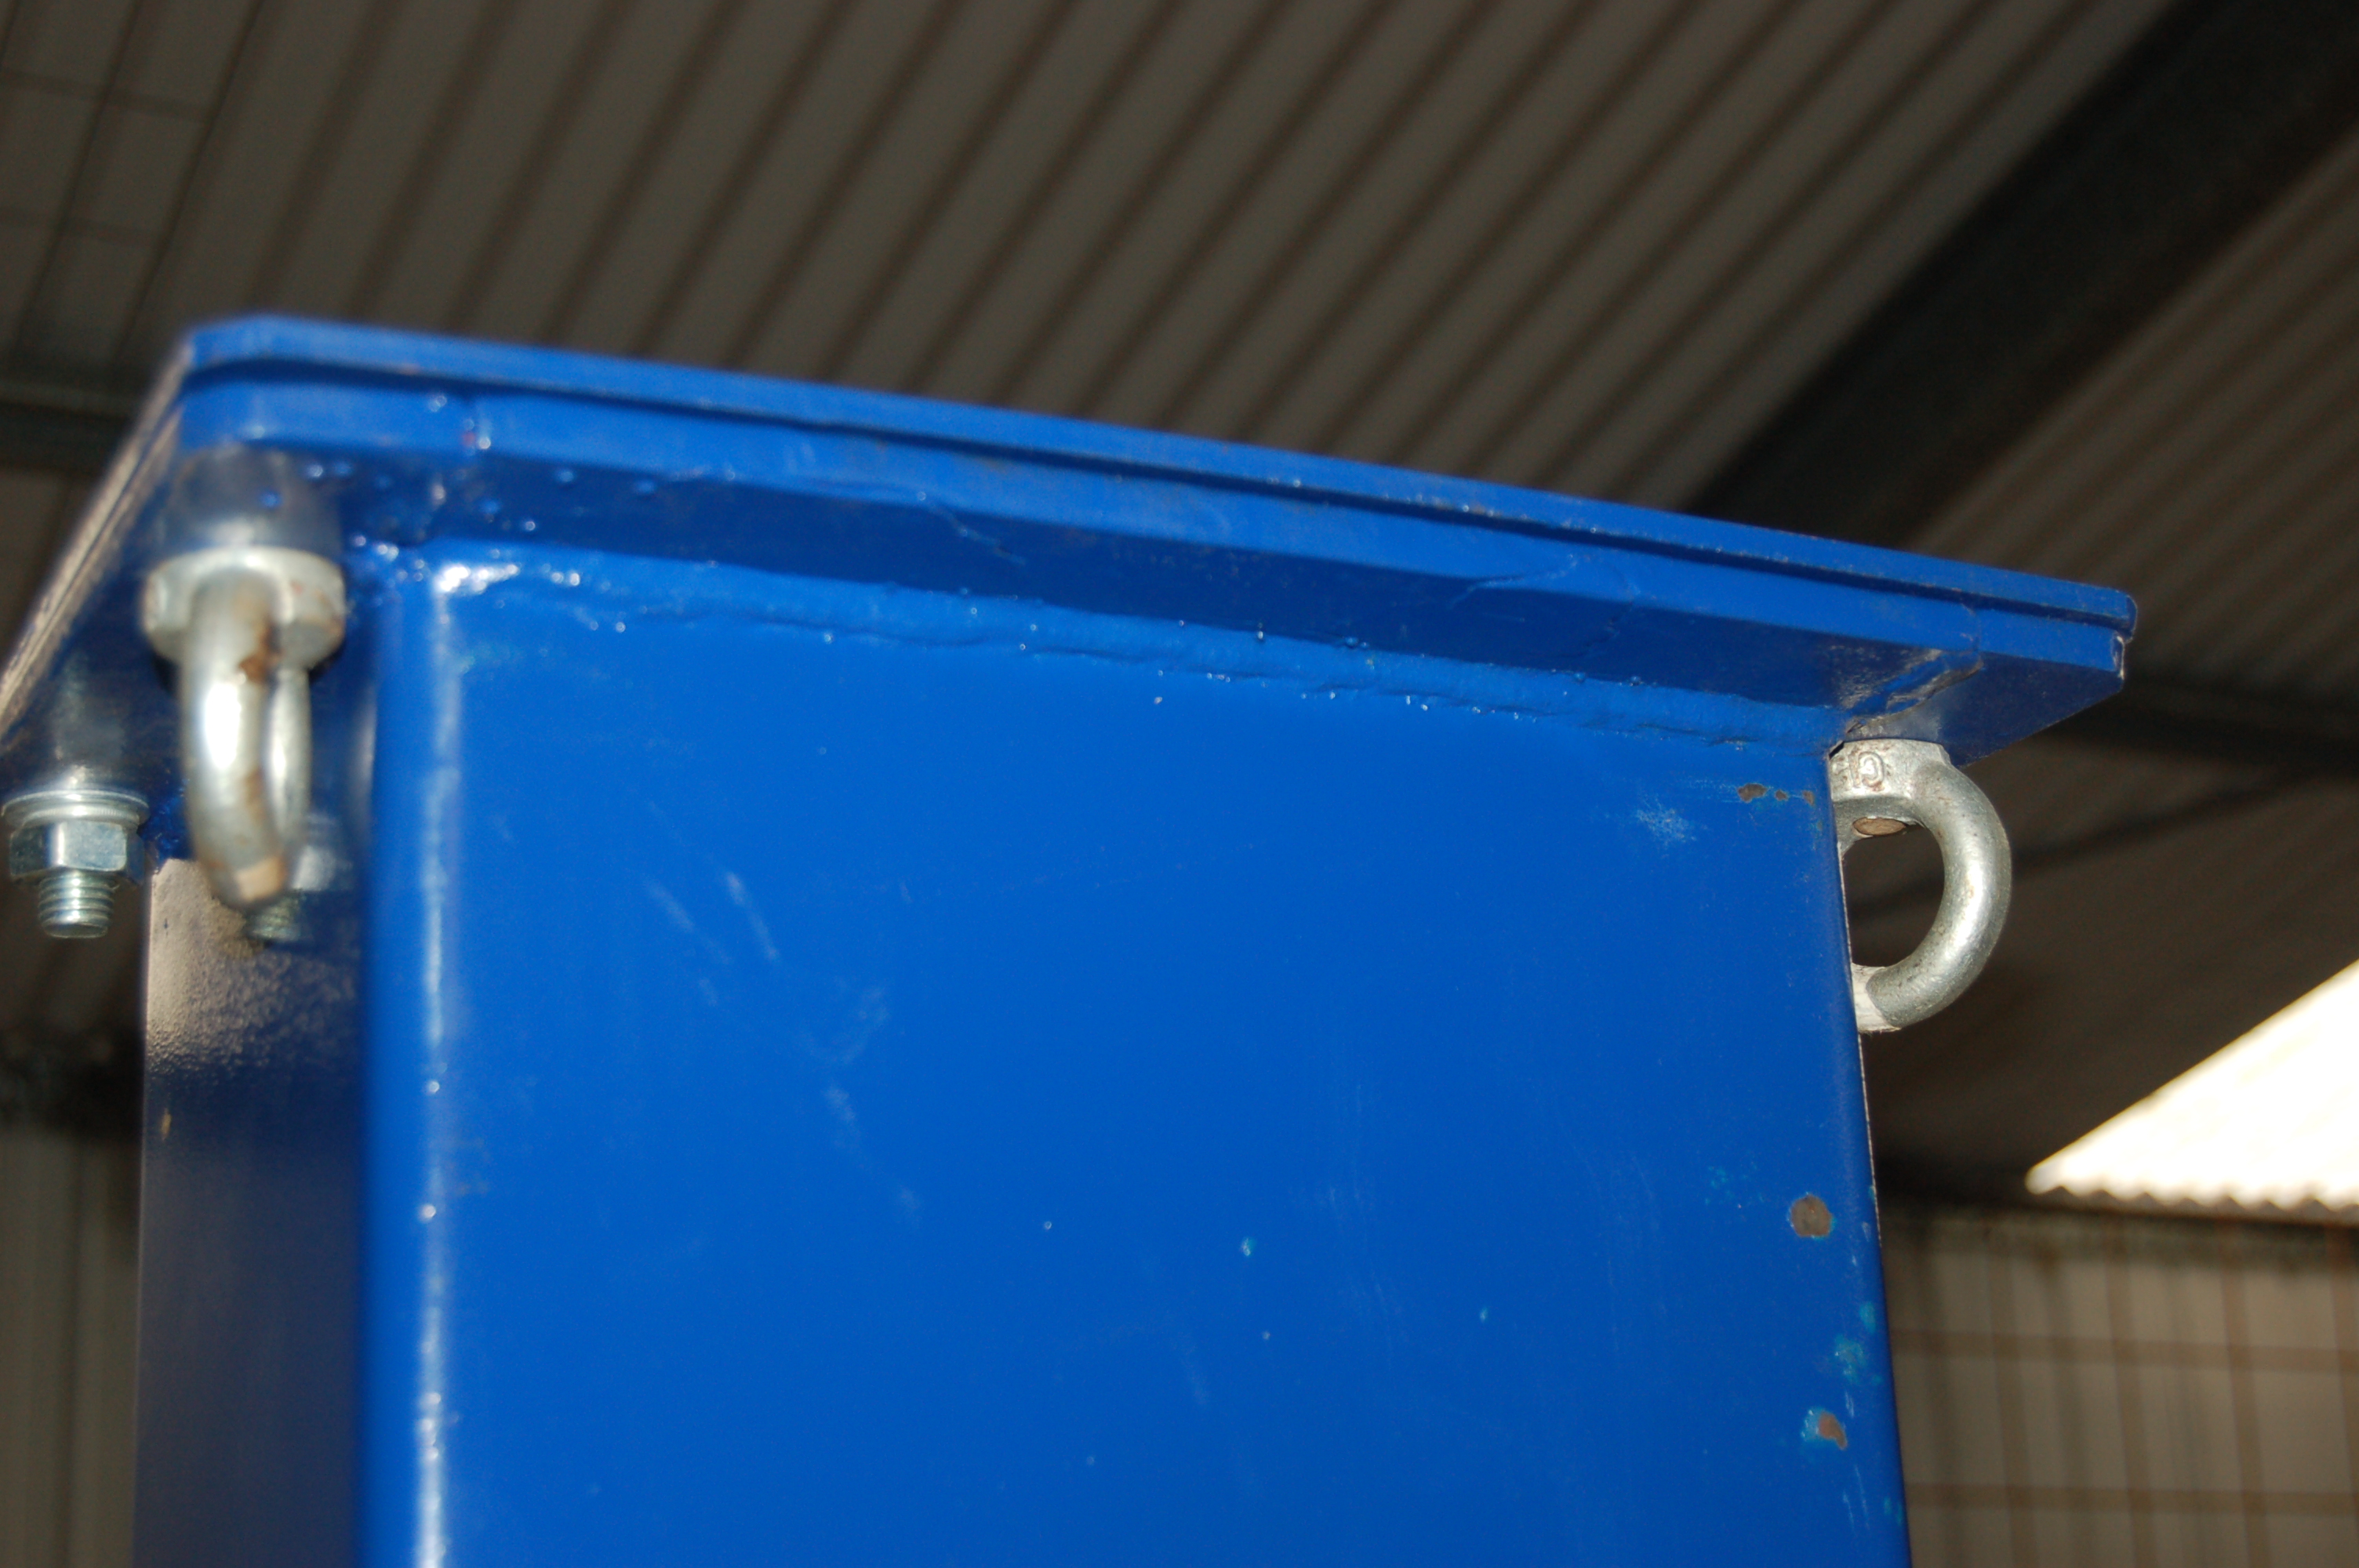
Somebody doesn't trust the MaxJax concrete anchors either - I thought this was a good idea so I substituted eyebolts for the top bolts in my outside column. This allows me to tie the head of the column back to the base of the opposite shed uprights with a couple of load straps. The columns need to be installed plumb and parallel or the pads on opposite sides will try to move towards or away from one another as the carriage rises, possibly dislodging the car. You will be very lucky if your concrete floor is perfectly flat and level - even my new one wasn't. The MaxJax comes with a set of 'C' shims supplied for levelling purposes, but the HAPP90 provides nothing. You will probably need to find some large diameter thin washers or fiddle about with sheet metal to get a perfectly flat bedding for the columns. |
|
The MaxJax manual, downloadable from their Home site, has information and dimensions for column spacing according to broad car classes, but the safest way to be sure with the HAPP90 is to park your largest car between the columns and check that the lift arms will reach where they need to. If you didn't hit rebar with your first set of holes, then providing your reinforcing mesh was installed and wired properly you will want to place the outer column holes at some multiple of 20cm, so you won't hit any the second time either. I spaced my own columns to give me a 2.4m drive-through clearance. | |
|
| |